

Introduction
Here the installation oVirt and their guide. The objective in this post:
- To make a walkthrough of the installation process for ovirt
- To understand the prerequisite for installing the ovirt
Before proceed to the installation process, please make sure you have prerequisite as below:
- 2 Machine
- Ovirt Engine (Minimal) (example host : 192.168.1.30)
- Dual Core
- 4 GB RAM
- 25 GB Space
- Network
- Ovirt Hosted Engine (Minimal) (example host : 192.168.1.40)
- Dual Core
- 10 GB RAM
- 10 GB Space
- Network
- Ovirt Engine (Minimal) (example host : 192.168.1.30)
- NFS (Storage for disk)
- 100 GB Space
Intallation oVirt
- HOSTED ENGINED
# Update systemyum update -y
# Install repoyum install http://resources.ovirt.org/pub/yum-repo/ovirt-release44.rpm
# Install packageyum install ovirt-engine -y
# Start engine setupengine-setup
# Configuration[root@ovirtengine ~]# engine-setup --generate-answer=/root/answer.txt
[ INFO ] Stage: Initializing
[ INFO ] Stage: Environment setup
Configuration files: ['/etc/ovirt-engine-setup.conf.d/10-packaging-jboss.conf','/etc/ovirt-engine-setup.conf.d/10-packaging.conf']
Log file: /var/log/ovirt-engine/setup/ovirt-engine-setup-20160918040600-2gbi6m.log
Version: otopi-1.5.2 (otopi-1.5.2-1.el7.centos)
[ INFO ] Stage: Environment packages setup
[ INFO ] Yum Downloading: base/7/x86_64 (0%)
[ INFO ] Yum Downloading: updates/7/x86_64 (0%)
[ INFO ] Stage: Programs detection
[ INFO ] Stage: Environment setup
[ INFO ] Stage: Environment customization
--== PRODUCT OPTIONS ==--
Configure Engine on this host (Yes, No) [Yes]: Yes
Configure Image I/O Proxy on this host? (Yes, No) [Yes]: Yes
Configure WebSocket Proxy on this host (Yes, No) [Yes]: Yes
Please note: Data Warehouse is required for the engine. If you choose to not configure it on this host, you have to configure it on a remote host, and then configure the engine on this host so that it can access the database of the remote Data Warehouse host.
Configure Data Warehouse on this host (Yes, No) [Yes]: Yes
Configure VM Console Proxy on this host (Yes, No) [Yes]: Yes
--== PACKAGES ==--
[ INFO ] Checking for product updates...
[ INFO ] No product updates found
--== NETWORK CONFIGURATION ==--
Host fully qualified DNS name of this server [ovirtengine.example.com]: ovirtengine.example.com
[WARNING] Failed to resolve ovirtengine.example.com using DNS, it can be resolved only locally
Setup can automatically configure the firewall on this system.
Note: automatic configuration of the firewall may overwrite current settings.
Do you want Setup to configure the firewall? (Yes, No) [Yes]: No
--== DATABASE CONFIGURATION ==--
Where is the DWH database located? (Local, Remote)
[Local]: Local
Setup can configure the local postgresql server automatically for the DWH to run. This may conflict with existing applications.
Would you like Setup to automatically configure postgresql and create DWH database, or prefer to perform that manually? (Automatic, Manual)
[Automatic]: Automatic
Where is the Engine database located? (Local, Remote)
[Local]: Local
Setup can configure the local postgresql server automatically for the engine to run. This may conflict with existing applications. Would you like Setup to automatically configure postgresql and create Engine database, or prefer to perform that manually? (Automatic, Manual)
[Automatic]: Automatic
--== OVIRT ENGINE CONFIGURATION ==--
Engine admin password:
Confirm engine admin password:
[WARNING] Password is weak: it is too simplistic/systematic
Use weak password? (Yes, No) [No]: Yes
Application mode (Virt, Gluster, Both) [Both]: Both
--== STORAGE CONFIGURATION ==--
Default SAN wipe after delete (Yes, No) [No]: No
--== PKI CONFIGURATION ==--
Organization name for certificate [example.com]: example.com
--== APACHE CONFIGURATION ==--
Setup can configure the default page of the web server to present the application home page. This may conflict with existing applications.
Do you wish to set the application as the default page of the web server? (Yes, No) [Yes]: Yes
Setup can configure apache to use SSL using a certificate issued from the internal CA.
Do you wish Setup to configure that, or prefer to perform that manually? (Automatic, Manual) [Automatic]: Automatic
--== SYSTEM CONFIGURATION ==--
Configure an NFS share on this server to be used as an ISO Domain? (Yes, No) [No]: No
--== MISC CONFIGURATION ==--
Please choose Data Warehouse sampling scale:
(1) Basic
(2) Full
(1, 2)[1]: 1
--== END OF CONFIGURATION ==--
[ INFO ] Stage: Setup validation
[WARNING] Warning: Not enough memory is available on the host. Minimum requirement is 4096MB, and 16384MB is recommended.
Do you want Setup to continue, with amount of memory less than recommended? (Yes, No) [No]: Yes
--== CONFIGURATION PREVIEW ==--
Application mode : both
Default SAN wipe after delete : False
Update Firewall : False
Host FQDN : ovirtengine.example.com
Engine database secured connection : False
Engine database host : localhost
Engine database user name : engine
Engine database name : engine
Engine database port : 5432
Engine database host name validation : False
DWH database secured connection : False
DWH database host : localhost
DWH database user name : ovirt_engine_history
DWH database name : ovirt_engine_history
DWH database port : 5432
DWH database host name validation : False
Engine installation : True
PKI organization : example.com
Configure local Engine database : True
Set application as default page : True
Configure Apache SSL : True
DWH installation : True
Configure local DWH database : True
Engine Host FQDN : ovirtengine.example.com
Configure Image I/O Proxy : True
Configure VMConsole Proxy : True
Configure WebSocket Proxy : True
Please confirm installation settings (OK, Cancel) [OK]: OK
[ INFO ] Stage: Transaction setup
[ INFO ] Stopping engine service
[ INFO ] Stopping ovirt-fence-kdump-listener service
[ INFO ] Stopping dwh service
[ INFO ] Stopping Image I/O Proxy service
[ INFO ] Stopping websocket-proxy service
[ INFO ] Stage: Misc configuration
[ INFO ] Stage: Package installation
[ INFO ] Stage: Misc configuration
[ INFO ] Upgrading CA
[ INFO ] Initializing PostgreSQL
[ INFO ] Creating PostgreSQL 'engine' database
[ INFO ] Configuring PostgreSQL
[ INFO ] Creating PostgreSQL 'ovirt_engine_history' database
[ INFO ] Configuring PostgreSQL
[ INFO ] Creating CA
[ INFO ] Creating/refreshing Engine database schema
[ INFO ] Creating/refreshing DWH database schema
[ INFO ] Configuring Image I/O Proxy
[ INFO ] Setting up ovirt-vmconsole proxy helper PKI artifacts
[ INFO ] Setting up ovirt-vmconsole SSH PKI artifacts
[ INFO ] Configuring WebSocket Proxy
[ INFO ] Creating/refreshing Engine 'internal' domain database schema
[ INFO ] Generating post install configuration file '/etc/ovirt-engine-setup.conf.d/20-setup-ovirt-post.conf'
[ INFO ] Stage: Transaction commit
[ INFO ] Stage: Closing up
[ INFO ] Starting engine service
[ INFO ] Starting dwh service
[ INFO ] Restarting ovirt-vmconsole proxy service
--== SUMMARY ==--
[ INFO ] Restarting httpd
In order to configure firewalld, copy the files from
/etc/ovirt-engine/firewalld to /etc/firewalld/services
and execute the following commands:
firewall-cmd --permanent --add-service ovirt-postgres
firewall-cmd --permanent --add-service ovirt-https
firewall-cmd --permanent --add-service ovirt-fence-kdump-listener
firewall-cmd --permanent --add-service ovirt-imageio-proxy
firewall-cmd --permanent --add-service ovirt-websocket-proxy
firewall-cmd --permanent --add-service ovirt-http
firewall-cmd --permanent --add-service ovirt-vmconsole-proxy
firewall-cmd --reload
The following network ports should be opened:
tcp:2222
tcp:443
tcp:5432
tcp:54323
tcp:6100
tcp:80
udp:7410
An example of the required configuration for iptables can be found at:
/etc/ovirt-engine/iptables.example
Please use the user 'admin@internal' and password specified in order to login
Web access is enabled at:
http://ovirtengine.example.com:80/ovirt-engine
https://ovirtengine.example.com:443/ovirt-engine
Internal CA E2:96:0B:A0:6C:1E:B5:0D:BB:7B:B5:29:4D:88:92:5A:DA:1E:95:BC
SSH fingerprint: 1f:7b:59:12:01:8c:b5:d7:21:49:3b:e9:e4:d1:72:da
[WARNING] Warning: Not enough memory is available on the host. Minimum requirement is 4096MB, and 16384MB is recommended.
--== END OF SUMMARY ==--
[ INFO ] Stage: Clean up Log file is located at /var/log/ovirt-engine/setup/ovirt-engine-setup-20160918040600-2gbi6m.log
[ INFO ] Generating answer file '/var/lib/ovirt-engine/setup/answers/20160918041930-setup.conf'
[ INFO ] Generating answer file '/root/answer.txt'
[ INFO ] Stage: Pre-termination
[ INFO ] Stage: Termination
[ INFO ] Execution of setup completed successfully
[root@ovirtengine ~]#
# Verify the installation
https://yourhostenginedaddress
2. OVIRT ENGINE
- Download ISO file from:
https://www.ovirt.org/download/node.html
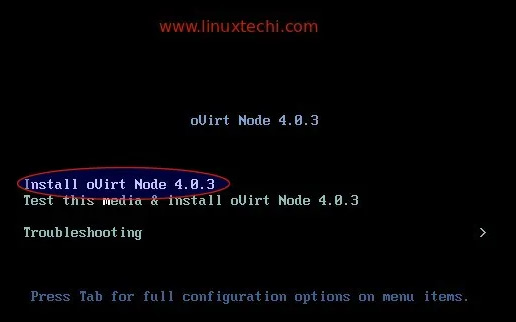
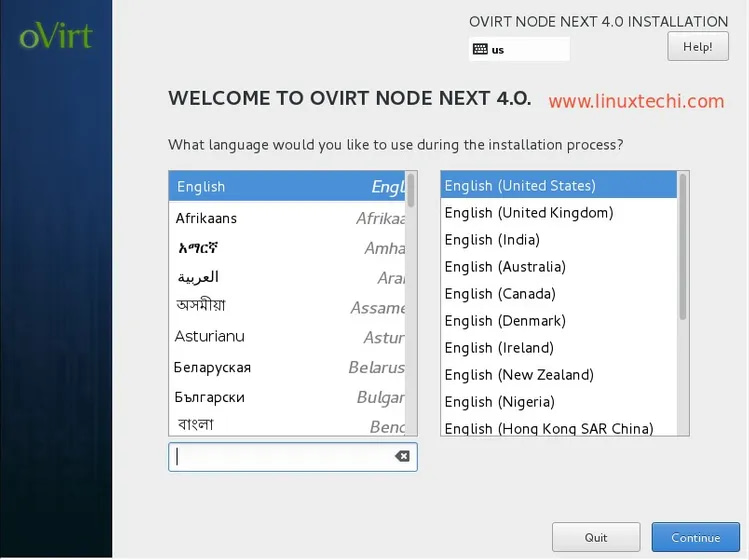
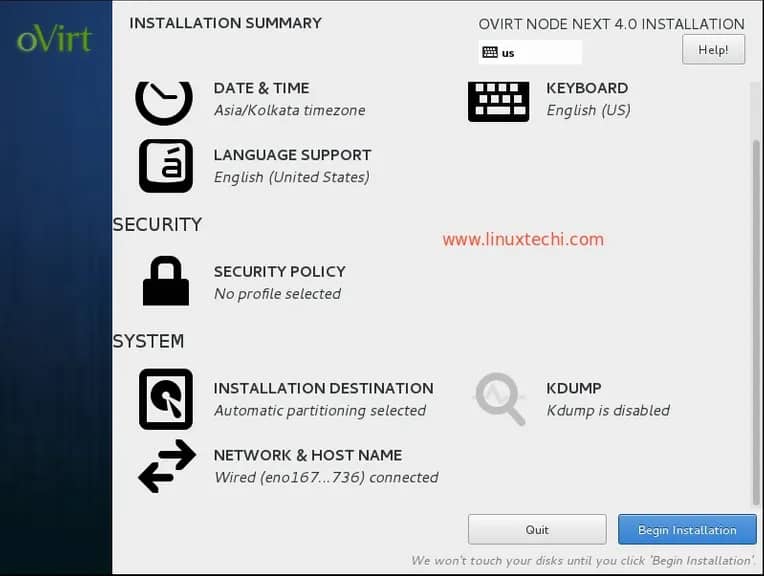
- Boot from the ISO file downloaded from the page and setup for the boot config


- Verify that the installation complete:
https://yourovirtenginehost
Configuration oVirt
To create virtual machine from hosted engine web administrator portal, we will have to set up:
- Data Center
- Clusters
- Hosts (Ovirt Node)
- Network (default ovirtmgmt)
- Storage (NFS)
- Create New Data Center
- Go to Compute > Data Center > New

- Go to Compute > Data Center > New
- Configure Cluster for Data Center
- Compute > Cluster
- Once click okay it will prompt for cluster setting, click configure cluster
- Specify the name, description, CPU architecture, as per your setup

- Configure Host
- Compute > Host
- New Host and fill the configuration needed

- Once added, click installation > enroll certificate
- After that, activate it by clicking management > activate
- Create Storage Domain
- Storage > Domain
- Click on New and fill the information needed for the NFS

- Upload ISO
- Storage > Disk
- Click on upload and choose ISO to upload

- Create Virtual Machine
- Compute > Virtual Machine
- Click new and fill the information needed

- Create instance image

- Go to System tab and set specs

- Go to Boot options to set boot

- Click ok and click run once to verify the boot option and click run.
- Console the server
- Click on console and select the console option, click console again to remote


- Click on console and select the console option, click console again to remote